As an Amazon Associate, Akermin earns from qualifying purchases. Product links on this page are affiliate links.
Choose a whole-home energy monitor with per-circuit clamps rather than mains-only or disaggregation, enough clamp inputs for the circuits you care about (8 to 16 for most homes), clamps sized for both the mains and the branch circuits, support for your supply type (split-phase, single-phase or three-phase), extra clamps for solar and battery if present, and a data path you control: CSV export at minimum, local access (Home Assistant, MQTT) preferably. Have it installed by an electrician; the clamps and power feed go on live conductors in the panel.
Step 1: Mains, circuits or guesswork
| Approach | What you get | Limits |
|---|---|---|
| Mains clamps only | Total consumption in real time; daily shape | No attribution to circuits |
| Mains plus disaggregation (Sense and similar) | Software identifies appliances from the mains signal | Good for distinctive loads (dryer, well pump); poor for similar ones (two fridges, LED lighting) |
| Per-circuit clamps (Emporia Vue, IoTaWatt, Shelly EM) | Each clamped circuit measured directly | Needs a clamp per circuit; panel space |
Per-circuit measurement is the reliable choice; add disaggregation only as a bonus.
Step 2: Clamps and circuits
- Count: mains (1 or 2) plus the circuits that matter: HVAC, water heater, oven and hob, dryer, EV charger, kitchen, office, and any suspect. 8 branch clamps cover most homes; 16 nearly all.
- Sizing: 200 A clamps for mains, 50 A clamps for branch circuits; a large clamp on a small circuit reads coarsely at low load.
- Two-pole circuits (240 V appliances on split-phase) need a clamp on each leg or the monitor’s two-pole configuration.
- Supply type: confirm the monitor supports split-phase (North America), single-phase (much of the world) or three-phase.
Step 3: Solar and batteries
A clamp on the solar feed and, if present, the battery inverter lets the monitor separate generation, consumption, export and import. Check the monitor handles bidirectional flow and displays net figures. Some inverter apps already provide this; a whole-home monitor adds per-circuit consumption to it.
Step 4: Data and control
- App and dashboard: real-time and historical, per circuit, with cost at your tariff, including time-of-use.
- Export: CSV of at least hourly data; some provide per-second.
- Local access: Home Assistant integration, MQTT or a local API means the data is yours if the cloud service changes. IoTaWatt and Shelly are local-first; Emporia offers a local option; Sense is cloud-only.
- Automation: smart plugs or relays triggered by circuit power on some platforms.
Step 5: Installation
- The monitor mounts inside or beside the panel; it needs a power feed from a breaker and Wi-Fi reach.
- Clamps go around each conductor with the arrow pointing toward the load; reversed clamps show negative power.
- Panel space: 16 clamps and their cables are a lot; some panels need an adjacent enclosure.
- Commissioning: label each circuit in the app; verify with a known load (turn the oven on and watch that channel).
Use a licensed electrician. See how to measure current with a clamp meter for the same clamp principle in handheld form.
Systems
| System | Notes |
|---|---|
| Emporia Vue 3 | Mains plus 16 branch clamps; solar; low cost; cloud app with local option |
| IoTaWatt | 14 inputs; fully local; open; needs a little setup |
| Shelly EM / 3EM / Pro EM | Few channels per unit; local and cloud; three-phase versions |
| Sense | Mains disaggregation; optional dedicated clamps; cloud |
Using the data
After a month the dashboard shows which circuits dominate, when they run and what they cost. The findings that pay are usually water heating schedules, HVAC runtime, an old fridge in the garage and EV charging timing. See plug-in vs whole-home energy monitors and what a kilowatt-hour is.
Recommended Tools
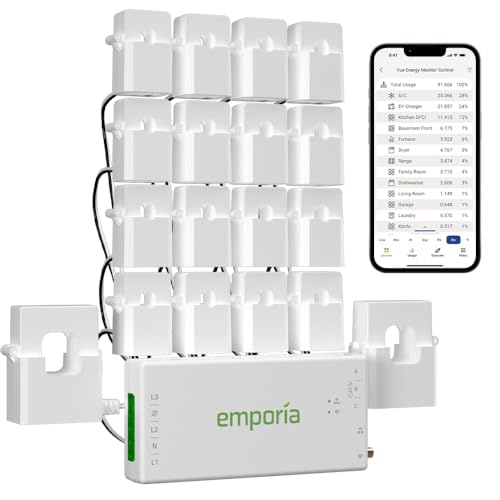
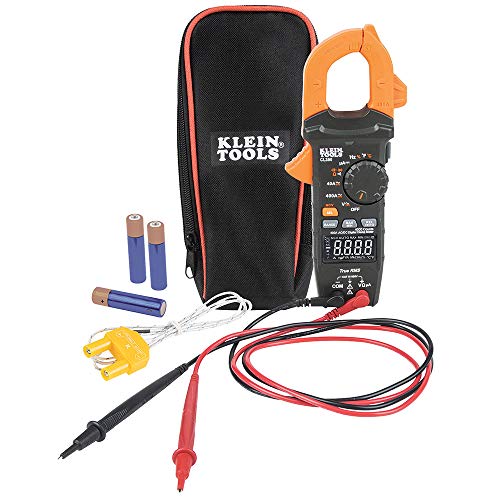
Products shown because their documented specifications fit this guide. Price and availability are on Amazon and can change.
Frequently Asked Questions
Do I need per-circuit clamps or is mains monitoring enough?
Mains-only tells you the total and its shape. Per-circuit clamps tell you which circuit is responsible, which is what most people want. Disaggregation software that guesses appliances from the mains signal is impressive and unreliable for similar loads.
Can I install a whole-home monitor myself?
The clamps and the power feed go inside the panel, on live conductors. In most jurisdictions that is licensed work; even where it is not, it is a live-panel job with arc-flash risk.
Which monitor works with solar?
Systems with an extra clamp set for the solar feed (Emporia Vue, Sense Solar, IoTaWatt, Shelly EM) show generation, consumption and export separately.
Affiliate disclosure: Akermin earns a commission from qualifying Amazon purchases made through links on this page. Our editorial picks are based on documented specifications and owner feedback, not commissions.